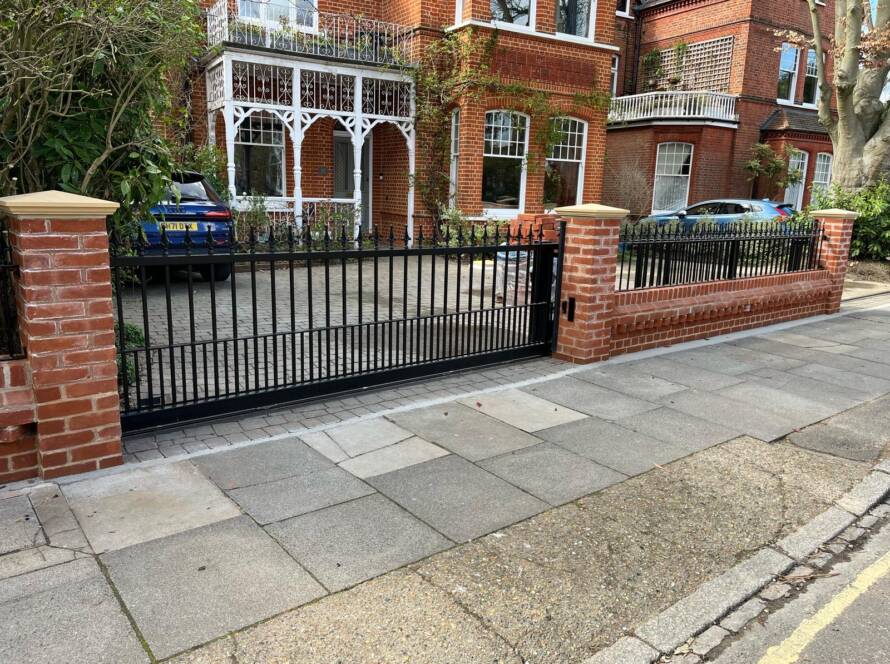
Electric gates are an excellent addition to any driveway, offering a perfect blend of security, convenience, and style. It is therefore no surprise that increasing numbers of homeowners are installing electric gates for driveways – particularly across Surrey, Hampshire, London, Berkshire, and Buckinghamshire.
While it might seem tempting to try and install your own, electric gates are complex systems that require specialised skills and knowledge for proper installation. Instead, for safety and peace of mind, it is recommended to employ a professional electric gate installer who has completed automated gate safety training from Gate Safe and DHF.
At Windlesham Gates, we believe that it is still useful for you to understand the process of installing electric gates for driveways, so that you can know what to expect when your gate is installed.
In this guide, we’ll outline the key steps involved in electric gate installation and discuss why expert installation is the safest, most efficient option.
Benefits of Electric Sliding Gates
Firstly, it is worth discussing why electric gates for driveways are a good choice for homeowners. We have gone into detail on the top benefits of installing electric sliding gates in a previous blog, but to quickly summarise, advantages include:
- Improved home security and safety.
- Heightened convenience – automated access options like remote controls and tag systems mean you do not have to leave the car during bad weather conditions to manually open your gate!
- Enhanced curb appeal – a bespoke gate can be tailored specifically to your property’s unique style and aesthetics.
- Increased property value – some sources say that electric gates are likely to recoup around 50% of their cost when a house is sold.
Step-by-Step Guide to Installation of Electric Gates
1. Preparation and Site Assessment
Before installation begins, a thorough site assessment is essential. Your electric gate installer will need to confirm that your driveway is suitable for an electric sliding gate. To be suitable, there must be enough space for your gate to operate without obstruction, appropriate terrain, and either level ground or only a slight slope gradient. Checking planning regulations with your local council is also important, as here in the UK, planning permission may be required if your gate will be over a certain height or located near a public road.
2. Choosing the Right Gate
Selecting the right gate for you is crucial. Most homeowners opt for durable materials like metal or aluminium gates, both of which offer strength and longevity. Wooden electric gates are also a surprisingly robust option, as well as being versatile and environmentally friendly. Choosing the right gate size and design will ensure that the gate complements your home’s aesthetic.
Professional electric gate installers can help you choose the perfect gate for your driveway, by guiding you through the pros and cons of each option, making recommendations based on your property/driveway, and showing you examples of previous installations for inspiration.
3. Marking and Measuring
Accurate measurements of the space where the gate will be installed are essential so that your gate fits perfectly. Once the precise measurements are confirmed, your engineer will carefully mark out the installation area, using stakes and string to establish the intended positions of the tracks and gate posts. With over 65 years of combined experience in electric gate installation, the engineers at Windlesham Gates have this step down to a fine art!
4. Digging Foundations and Installing Tracks
The tracks for your electric sliding gate need to be installed securely, in the correct position, and at the right depth. Mistakes at this stage can cause long-term alignment issues, which is why professional expertise is crucial.
Typically, a sturdy foundation will require digging a trench that is at least 300mm deep, but your engineer will decide the optimal depth for your specific circumstances based on factors like the weight of the gate and soil type.
Once the foundations are dug, the electric gate tracks will be laid in the trench (with care taken to ensure that the tracks are perfectly level), then set in concrete for long-term stability. If it is a brand new electric sliding gate, rather than a conversion of an existing gate, gate posts will also be installed and set in concrete.
5. Motor Installation
Once the concrete is fully set, it is time to install the motor, which is responsible for moving the gate. This must be installed securely beside the gate post and connected safely to your power supply. Incorrect wiring can lead to malfunction or even safety risks. At Windlesham Gates, we adhere to the highest standards and all UK safety regulations for installing electric gates and their motors.
6. Mounting the Gate
Mounting a heavy sliding gate to its tracks is no easy task. Many residential gates weigh upwards of 300kg, which is why a professional installation team is needed to mount your gate safely. The gate must also slide smoothly without resistance or obstruction. Once the gate is in place, your engineer will likely need to make precise adjustments to the rollers, guide brackets, and gate alignment to avoid any operational issues.
7. Electrical Connections and Safety Checks
Correctly wiring the gate’s access control system is critical. Once the motor is in place, it needs to be connected to a control panel, and features like remote controls and intercom systems need to be tested.
An experienced installer like Windlesham Gates, who is accredited by DHF and Gate Safe, will provide all necessary safety elements, including safety sensors, safety edges, and induction loops/photocells. Your electric gate engineer will also carry out thorough safety checks to ensure everything is functioning perfectly.
8. Final Testing and Adjustments
The final stage involves multiple tests to ensure the gate opens and closes smoothly and that all its component parts are secure. Your engineer will fine-tune the motor speed, sensor sensitivity, and gate alignment, ensuring long-term reliability.
The Risks of DIY Installation: Why You Should Leave Installing Electric Gates for Driveways to the Experts
Although some may feel confident in trying to install electric gates themselves, it is not a typical DIY task, as it involves several technical steps that can be tricky without the correct experience. Without specialised knowledge of electrical components and structural requirements, you risk issues such as motor misalignment, electrical faults, or even invalidating warranties.
Improper installation can also pose serious safety risks, especially if the sensors or stop mechanisms are not installed correctly. For these reasons, hiring a professional installer like Windlesham Gates is the safest and most cost-effective option.
As our many glowing customer reviews prove, Windlesham Gates has extensive experience in electric gate installations, offering unrivalled quality and service. Our 4 core customer commitments give you peace of mind that you will have a seamless installation process with no costly mistakes or safety hazards.
Contact Windlesham Gates to Book Your Electric Sliding Gate Installation
While understanding the electric gate installation process can be informative, it’s clear that installing electric gates for driveways is not really a DIY job. For optimal results, as well as a hassle-free and safe installation, it is best to enlist the services of qualified professionals with extensive experience installing beautiful, bespoke electric gates.
At Windlesham Gates, we have the expertise and knowledge to install electric gates safely, efficiently, and in line with UK regulations. With over 65 years of combined experience, you can trust our team of engineers to handle every step and deliver an unrivalled service.
Ready to secure your driveway in Surrey, London, Hampshire, Buckinghamshire, or Berkshire with an electric gate?
Contact Windlesham Gates today for expert advice and a free consultation!


